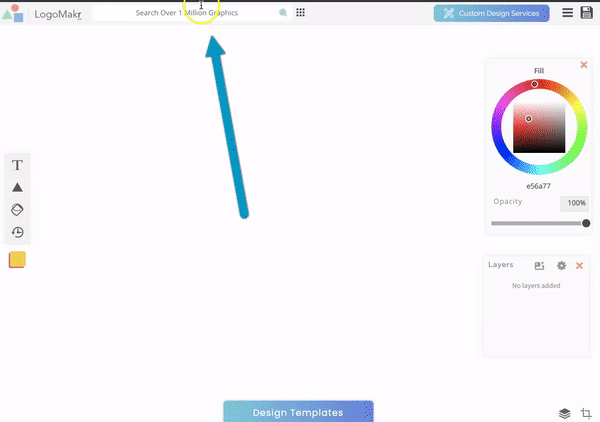
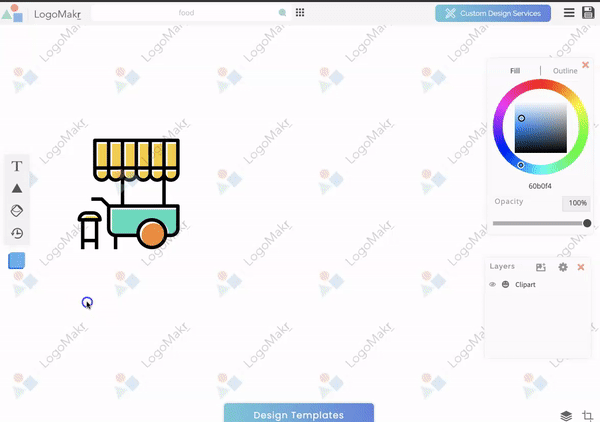
Choose from millions of graphics by using the search tool on the upper left corner of the canvas. Type a word and graphics for that category will appear. Then click on the icon of your choice and it will appear on the canvas.
Step 2
Add Text
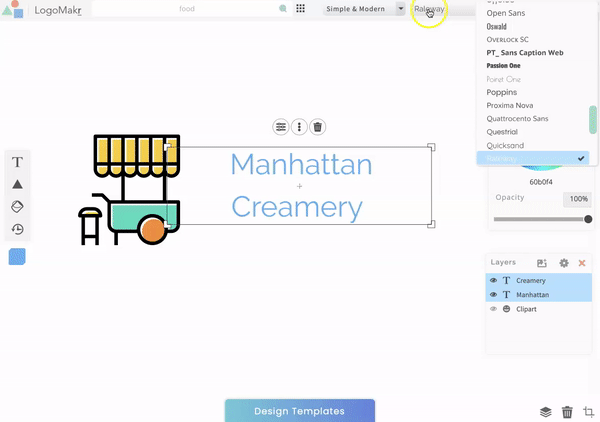
Click on the “T” text tool found on the middle left area of the canvas and type your logo name or any text you’re looking to achieve.
STEP 3
Choose Font
Choose your text font by clicking on your text and then selecting a font from the categories that appear on the top middle area of the canvas. Once you’ve selected your font, click on it and your text will appear in that font.
Step 4
Change Color
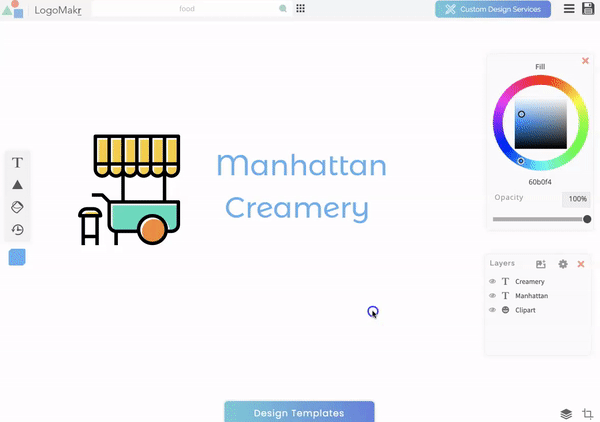
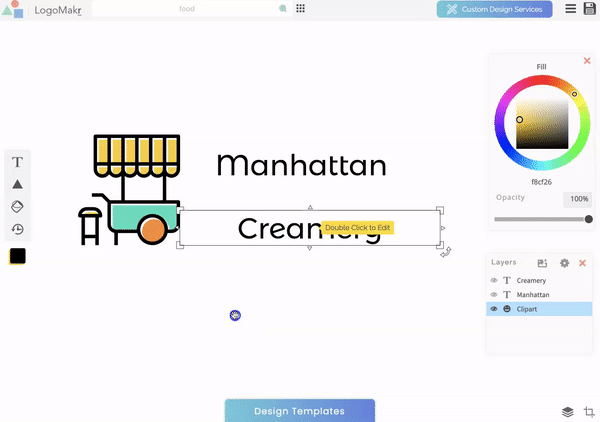
Use the color wheel tool found on the middle right area of the canvas to update the color to your text and graphics. Click on the object who’s color you wish to change and then move the curser around until you determine the perfect color shade.
STEP 5
Resize & Position
Resize your text and graphics by clicking on them and sizing down or up as needed using the corner squares to adjust or resize your object. To reposition your design click on the object and move it as needed.
Step 6
Crop Design
To crop your design, click on the crop tool found on the bottom right corner of the canvas. Adjust the cropping to your design and click on the checkmark found above or around your design.
STEP 7
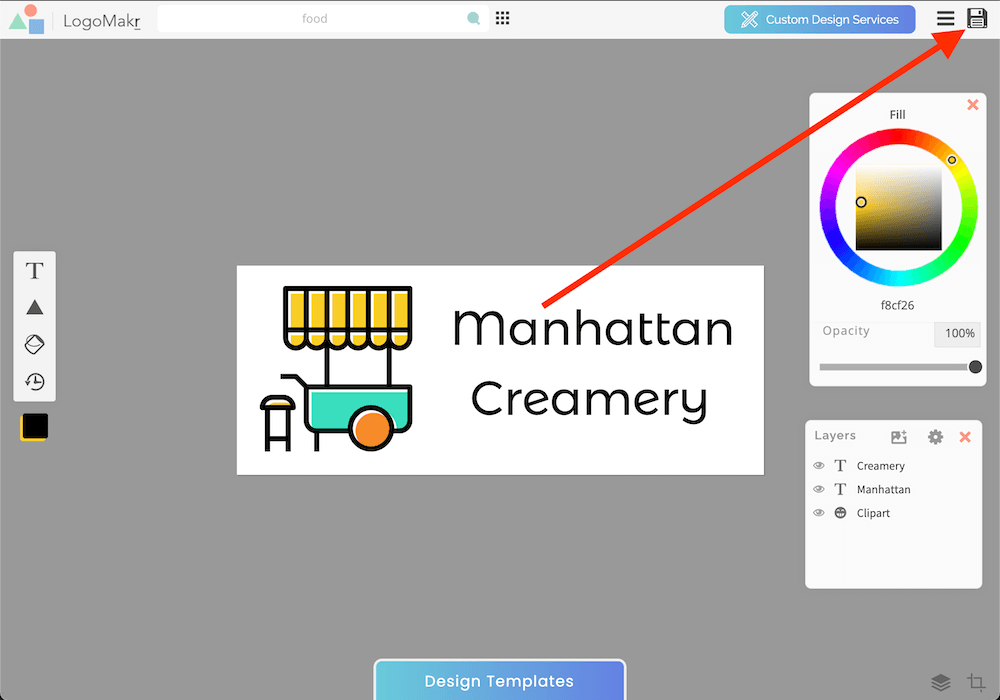
Save Design
When done simply go to the top right corner area of the canvas and click on the (floppy disk icon) save button.